Transparent Images Tutorial - Paint Shop Pro
What is this tutorial about?
As you know most images come with a white background around them. This can be rather ugly if you're trying to make a layout with a dark background. This tutorial will teach you how to simply remove the white background around an image by using Paint Shop Pro 9 (this should also work for previous editions of Paint Shop Pro, but your menus may appear different to those in the screenshots). Below you can see an example of a transparent image, in case you are confused about the purpose of this tutorial.
 |
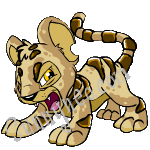 |
For this tutorial, we'll be using the angry Kougra pet image. Once you have found your image, right click and select copy (or copy image if you're using Firefox). Heading back to Paint Shop pro, press CTRL and V to paste as a new image. You can also do this from the menu by clicking on Edit, Paste, Paste As New Image.
There are three different ways to achieve a transparent background. Different people prefer different things, by listing three different ways you can find out which one works best for you.
Background Eraser
Step 1: Removing the background
Click on the background eraser.

Make sure you have the same settings as below (or similar if you're using another version of PSP).

When you click on the image, this message will appear - click on OK to continue.
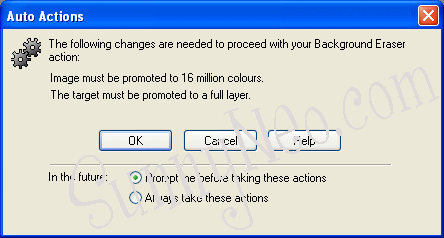
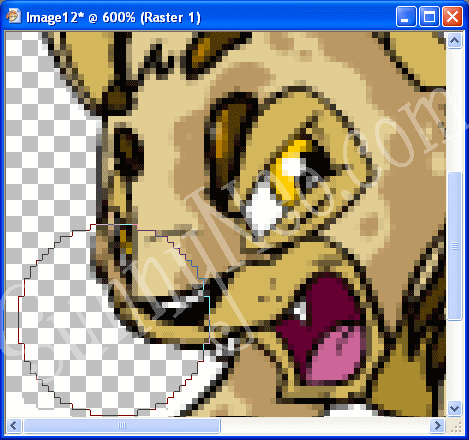
You will now need to click and drag the mouse over the background of the image, to make it transparent (the background will show as squares). To make it easier to get right up to the border, use the mouse wheel to zoom in on the image. Releasing the mouse button at regular intervals will make it easier to undo any mistakes.
Step 2: Saving the image
All that remains now is to save your image. To make sure the image retains its transparency, this needs to be done in a slightly different way to normal.
If you don't already have the web toolbar open, click View, Toolbars then Web, to open the toolbar.
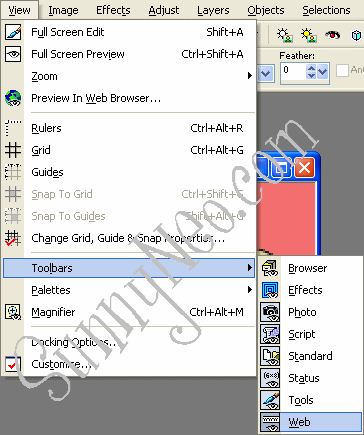

Click on either the GIF optimiser (as highlighted) or the PNG optimiser. Below you can see the settings used on both optimisers. Whether you want to save as a GIF or PNG is up to you.
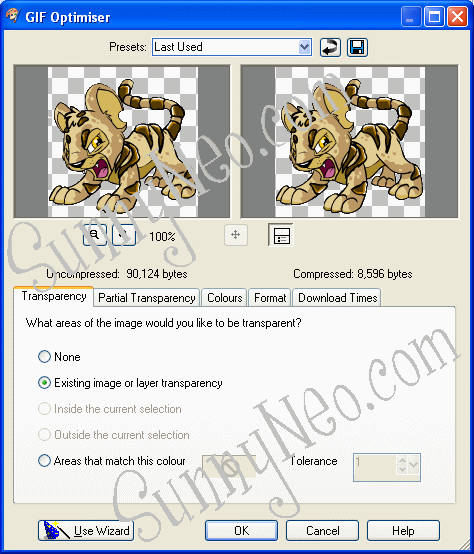
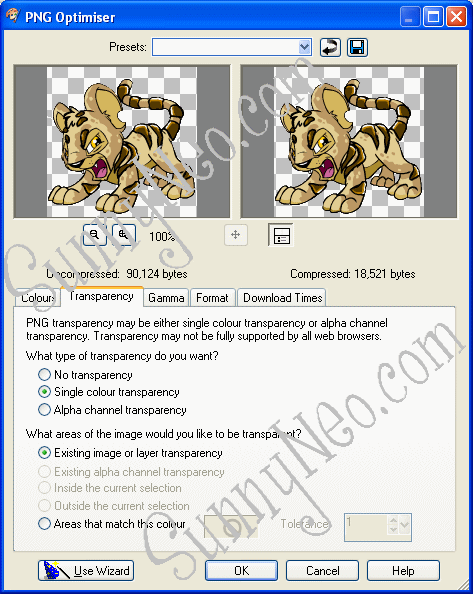
Make sure you have the radio button next to Existing image or layer transparency selected, then click on OK to save your file, and there is your final image ready and waiting to be used.

If you wish to upload your image somewhere and don't know how, please refer to our Uploading Images Tutorial.

 {{ loadingMessage || 'Loading, one moment please'}}

