
How to Code Stickers
Now that you have your stickers, you are going to want to equip them. They are automatically put into your NeoBoard preferences page once purchased. Underneath your regular NeoSignature, there is a new box that says "Insert Sticker." It is where you are able to see all stickers available. All stickers in color means you have purchased them, while all stickers in grey means you have not. Alternatively, if you know the coding for the sticker you can just type it into your NeoSignature. It follows the format :_name_:
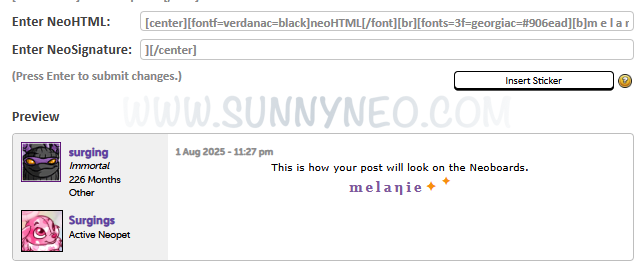
If you want to change it up and use a different sticker, simply use your NeoSignature box to remove the coding for the sticker. Unfortunately, this does mean you may have to edit your font to make everything fit, but this also gives you some more possibilities for creativity. TNT has removed the need for [ and the end of your NeoHTML code and ] at the beginning of the NeoSignature code. You need to have them removed to get the stickers to show up, otherwise they show only as the code. You are limited to use three stickers total in a NeoSignature. They are also limited to your NeoSignature; they do not work in your NeoHTML box. TNT has their own FAQ here for more information.
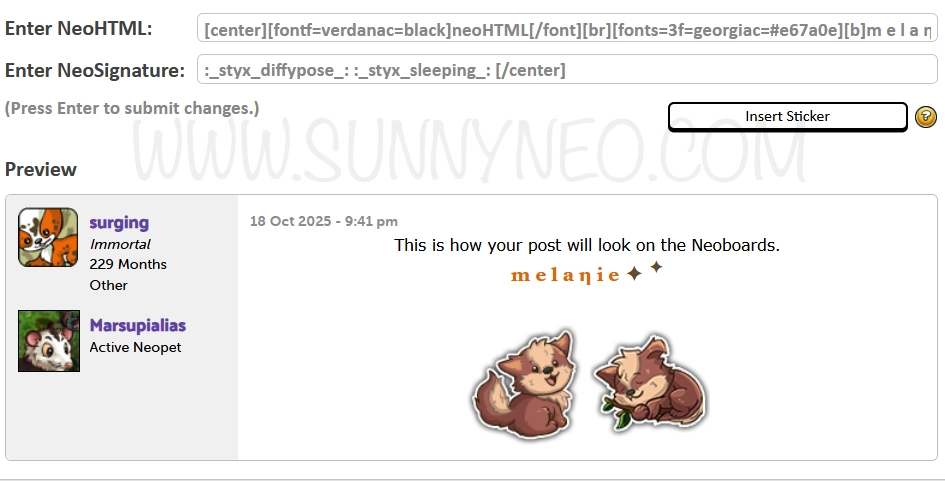
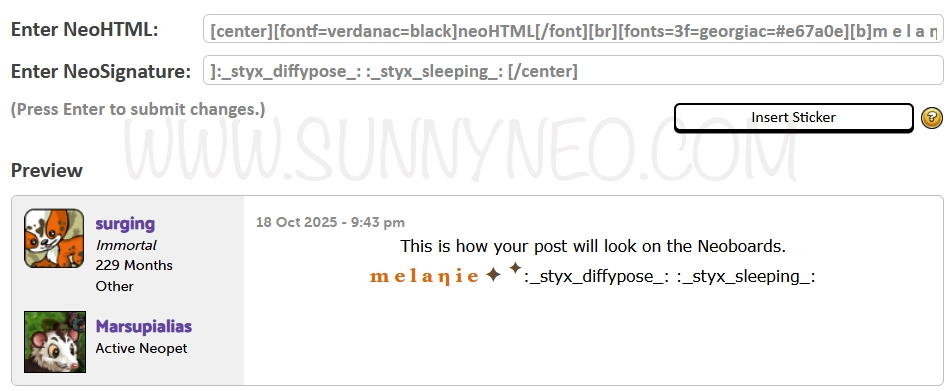
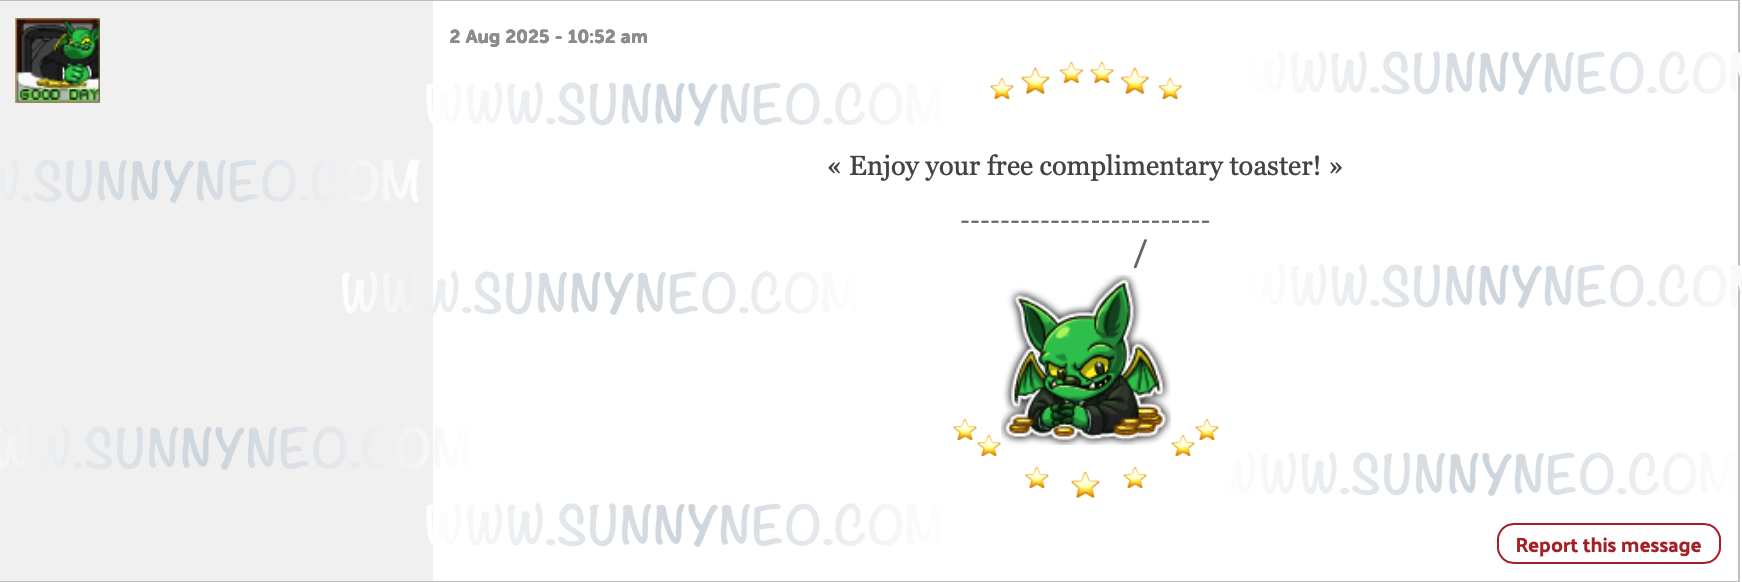
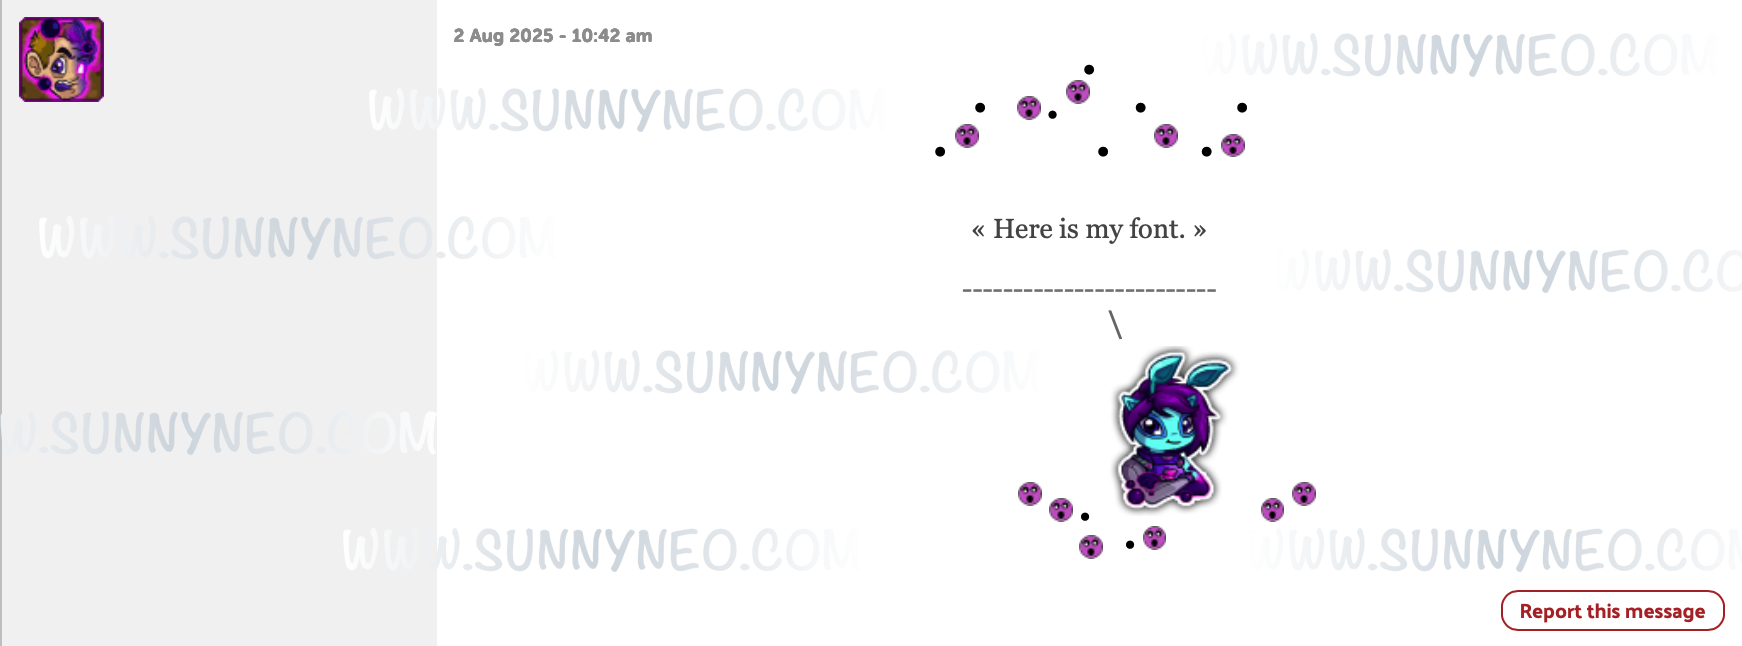
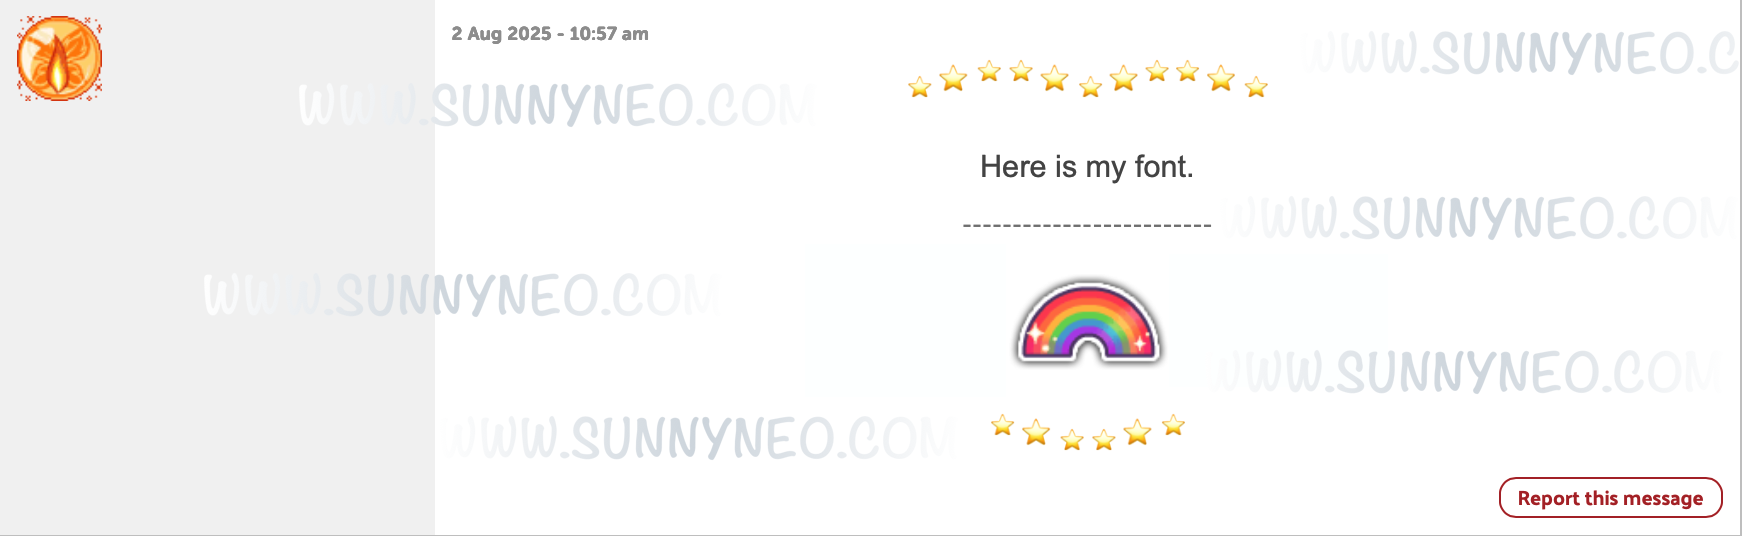
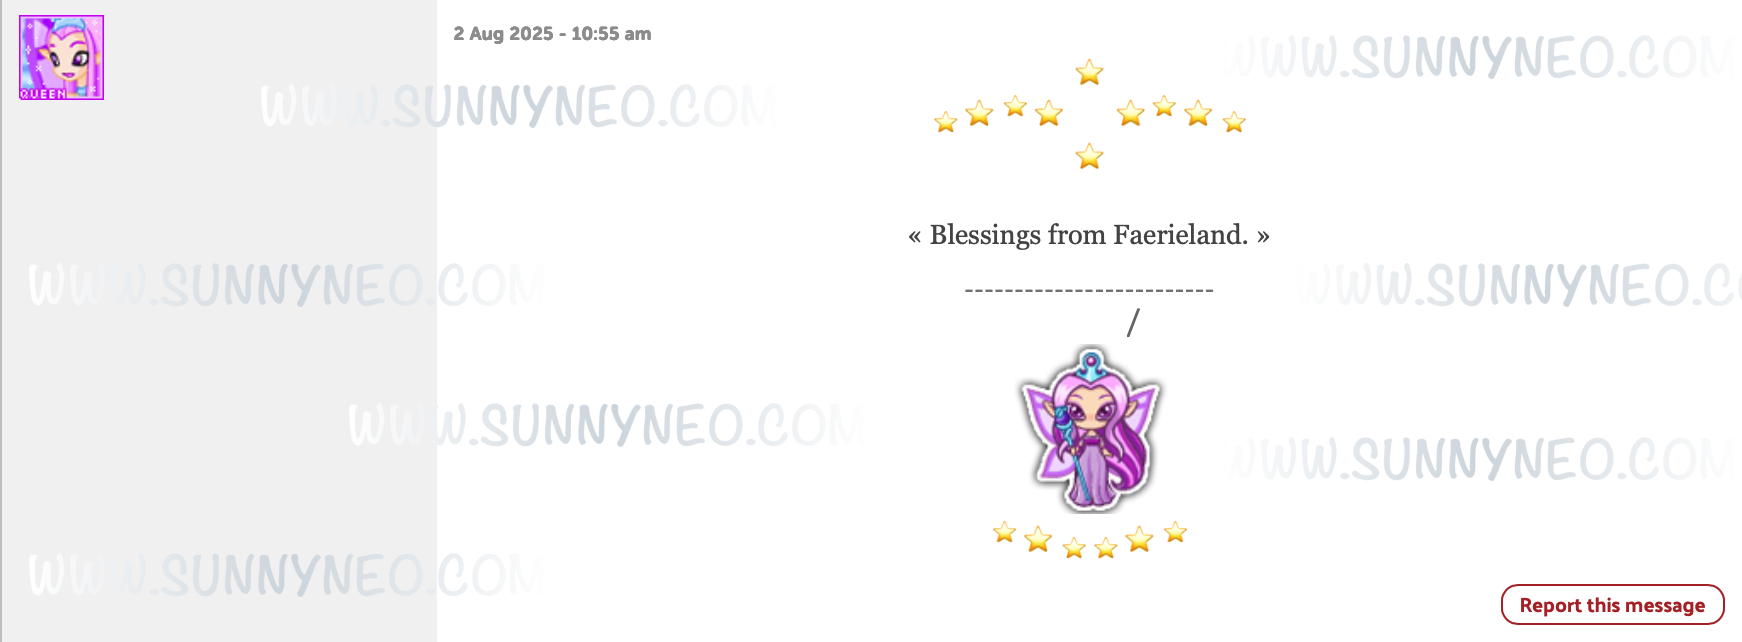
To give you an idea of sizing, here are a few stickers in action on the NeoBoards. All stickers are the same size and size cannot be changed.

 {{ loadingMessage || 'Loading, one moment please'}}