Perfect Preview - Photoshop
What is this tutorial about?
When you are making graphics, you also want people to see a nice preview of them so they know what to expect. These screenshots would preferably all be the same size, and would contain as much of the graphic as possible. This tutorial will help you create the perfect preview using Photoshop.
What programs do you need?
This tutorial makes use of the program Photoshop. The reason for this is that Photoshop is the easiest to use because it can crop and resize at the same time. If you do not own Photoshop, click here for a free trial.
Step 1: Taking a screenshot
Your first step to making the perfect preview is to take a screenshot of your layout. In order to do this, first put the layout on your userlookup, shop etc. and then press the Print Screen or prtscrn button on your keyboard.
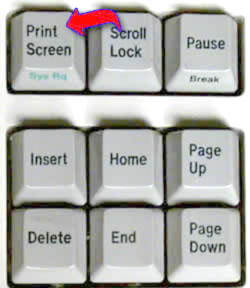
For Mac computers, you have to push: Apple+Shift+3 and then click on the screen.
After you've pressed Print screen a copy of your screen has been made. Now it's time to paste it into Photoshop.
Step 2: Editing the screenshot
First open up Photoshop.
Now you have to create a new file. Do this by clicking on File - New (or CTRL + N).
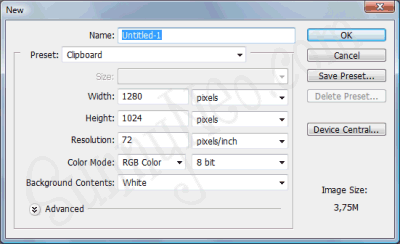
The preset of the new file should automatically be on Clipboard, this means that the size of the new file is adjusted to the size of the image you have on your clipboard, in this case, your screenshot.
When you've made your new file, it's time to paste your screenshot. Do this by going to Edit - Paste, or press CTRL + V.
Now it's time to crop your screenshot to the image you want to use for the preview. You do this by using the Crop Tool from the tools menu.
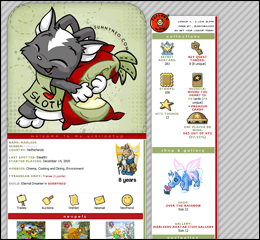
When you've clicked on the crop tool, at the top of the screen you can fill crop height and width. Filling in these will not only cut out your selection, but it will also resize your selection to the height and width you've filled in. In this example, we want to create a preview that has a width of 260 pixels and a height of 240 pixels.
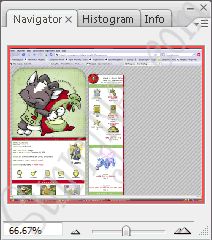
Once you've set the height and width of your end result image, you need to make a selection of the area that you want to crop. If you like, you can zoom into the image by pressing CTRL + + (plus), or by moving the zoom slider to a higher percentage.
When you're ready, make a selection in your image that you want to crop to. As you will see you will only be able to make squares that are larger equivalents of the 260 x 240 image. This way, your image will not become weirdly stretched when the program resizes the image for you.
While selecting the area to crop, you can still move your selection, and make it bigger or smaller, so do not worry if you don't make the perfect selection at first.
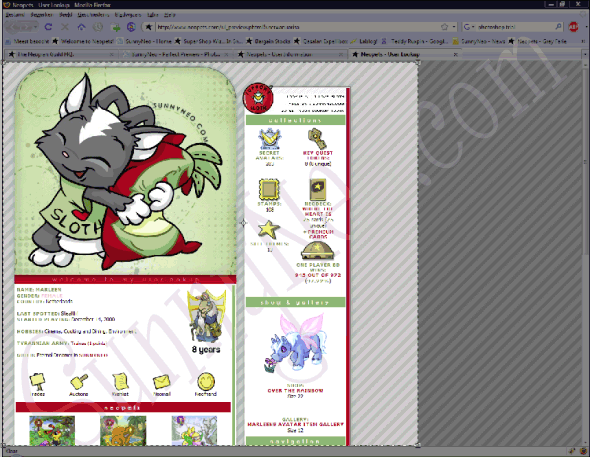
When you're finished selecting the part of your screenshot you want to keep for your preview it's time to make Photoshop do the crop and resize. You can do this by clicking the 'Commit current crop operation' button.
Now your image is done! Or isn't it? You can optionally add a nice border around the image.
Optional Step: Adding a 1 pixel border
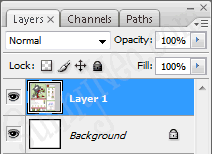
If you want to add a one pixel border to your newly cropped image, right click on Layer 1 in the Layers menu, and select Blending Options.
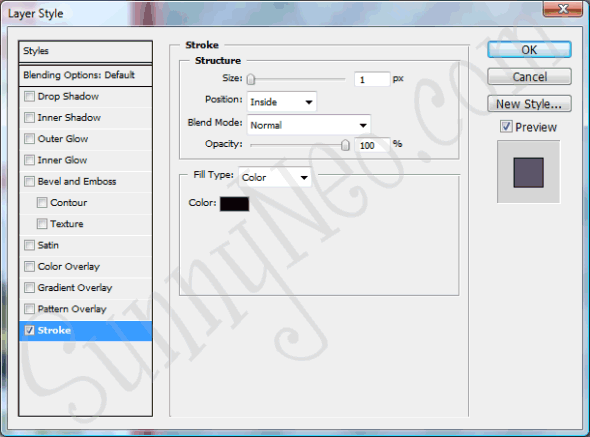
You will get a new screen with dozens of different options. The bottom option is Stroke, click it. You will then need to fill in the number of pixels you want your border to be which is 1 pixel. You also need to fill in that you want the border inside your picture, and the colour of the border.
After pressing OK your border has been added and all there is left for you to do is save your image.
If you need help uploading your image, visit our Uploading Images Tutorial.

 {{ loadingMessage || 'Loading, one moment please'}}

